
Supplies
Styrofoam cubes (5x5x5 inches). I got mine a Hobby Lobby, both the regular kind and the smooth finish.
Black acrylic paint
Foam brush
Black and White Vinyl (I buy mine at www.signwarehouse.com--Oracle 631, 15 inches x 10 yards)
A cutting machine, or circle punch, or good old scissors.
Step 1: Buy the styrofoam cubes and remove the plastic. I bought 12 cubes at Hobby Lobby. Some are the standard styrofoam and some are the smooth, paintable styrofoam. If you can get the smooth, do it. It's much easier to work with, and the vinyl adheres to it better.
Smooth Foam (preferred)

Regular Foam (Since it is harder to paint, I saved this type for the white dice...so no painting these!)

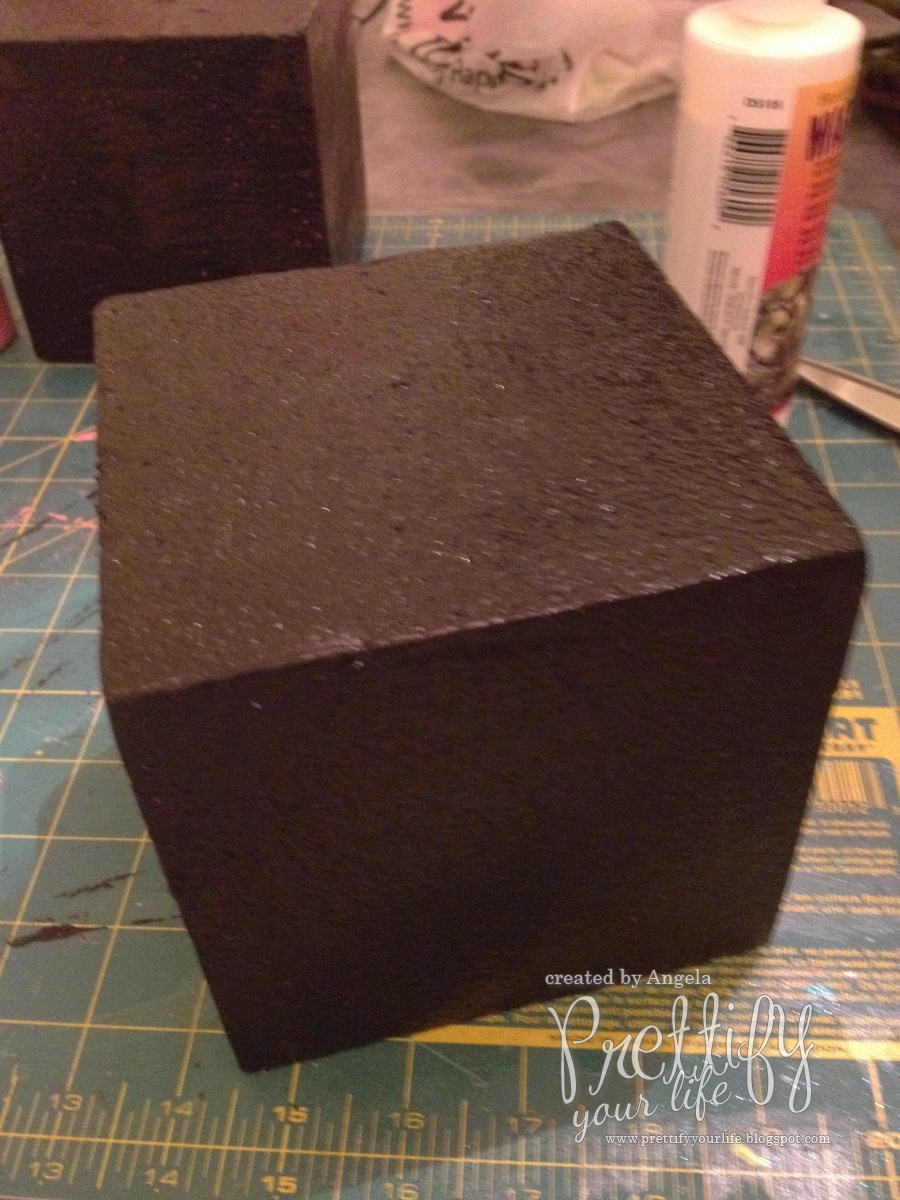
Step 2: Paint the dice. I chose to have 6 white dice (styrofoam left unpainted) and 6 black dice (that I had to paint). It took two coats. I used regular black acrylic paint and a foam brush purchased at Hobby Lobby.
Step 3: Cut out the circles. I used my Cricut Expression with the George and Basic Shapes Cartridge to cut out 1.5 inch black and white vinyl circles. Each dice has 21 dots on it. So for 12 dice I needed 252 vinyl circles!!! That's a lot of dots.
Helpful hints: When putting the vinyl on the mat, go over the vinyl with a brayer or rolling pin or even a can to help prevent the vinyl from lifting while the Cricut is cutting. Also, select the circle on the George and Basic Shapes cartridge, choose 1.5 inches for the size, then push the "Auto Fill" button and the machine will automatically cut out as many circles as will fit on the page. That is a HANDY feature!
Using the brayer to make sure the vinyl is really stuck down.

Auto fill funchtion! LOVE

Step 4: Peel off the backing to the vinyl circles. Then, put a dab of hot glue (on low temperature) on the cube before placing the vinyl dot. If you don't use a little bit of hot glue, the vinyl will start to lift. Styrofoam is a tricky material to work with!

I looked at an actual dice so that I made sure to position the dots correctly...because I'm OCD.

Then ta-dah! They are done. I will have a video in a day or two showing you how I used them around my door. So check back!!!


Please remember to vote for Prettify Your Life in the Circle of Moms Top 25 Creative Moms of 2012 Blog contest. Click the Circle of Moms button in the top right-hand column of this blog, then find Prettify Your Life in the list of blogs and click on the orange thumb on the right to cast your vote. I really appreciate your support!

Thanks so much for taking the time to check out my blog!

:) very creative
ReplyDeleteSo helpful!
ReplyDeleteLove this, I will use this idea for my husband's casino themed birthday party.
ReplyDeleteThank you for sharing this wonderful idea :)
ReplyDeleteCute but i would use boxes they are cheaper
ReplyDeletethank you so much very helpful
ReplyDelete