
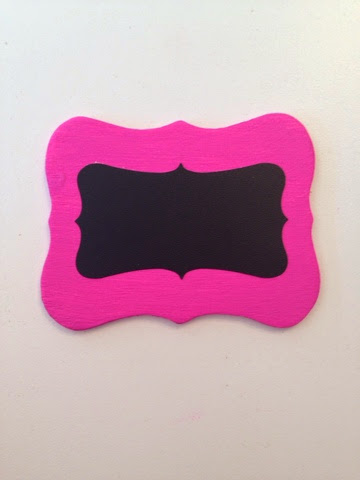
I have been thinking about how I want to label my many Dröna bins from Ikea. Thinking, thinking, thinking.... Then I found these unfinished wooden pieces from Michael's. Love! I proceeded to paint them pink.

I then happened upon these chalkboard labels by Recollections also at Michael's that matched the shapes of the wooden pieces perfectly. I stuck them right onto the wooden piece. Yes, I could have cut them out using my cutting machine and vinyl, but I just wanted one step to be quick. You ever get in a mood like that?

I then punched a hole in the bottom using my Crop-A-Dile II Big Bite.


The next step was to embellish. I did so using Art•i•Cake charms (mine were from Michael's) and Mod Podge Molds.

Here I took a ring, opened it up, threaded the charm on the ring, threaded the ring through the label and then closed the ring.


Next I made crown Mod Podge molds using Mod Podge melts and then painted them gold using acrylic paint.


Here is a quick review of my first experience with Mod Podge Melts and Molds:
Then, I inked around the wooden piece with black ink, drew some embellishments with a white Sharpie paint pen and then hot glued the Crown to the wooden piece.

Lastly, I typed out a label on my label maker and adhered it to the wooden piece. This can be removed at a later date if need be.


And I hot glued the wooden label to my Dröna bin. A lot of the charms will be different, which I think adds interest. Is this labor intensive? Yep. But, in the end, I will be happy with it.

Here is a quick Flipagram of the entire process:
Thanks for stopping by!
Take time to "Prettify Your Life"!!!
Angela
Love the share :) great ideas
ReplyDelete