
1. I bought this little wooden stocking cut-out at Michael's about a month ago.

2. Next, I painted both sides and the edge of the stocking with Anita's Brand acrylic paint. The color is True Red (#11301). I didn't used an acrylic paint pen this time because I didn't like the shade of red. So, when painting your wooden tags, the less paint you use the better. Quicker drying time.


3. I forgot to punch a hole before I painted the stocking. So, I pulled out my Crop-A-Dile II Big Bite and punched a hole in the top of the stocking.

4. Next I used a Q-tip to paint the inside of the hole.

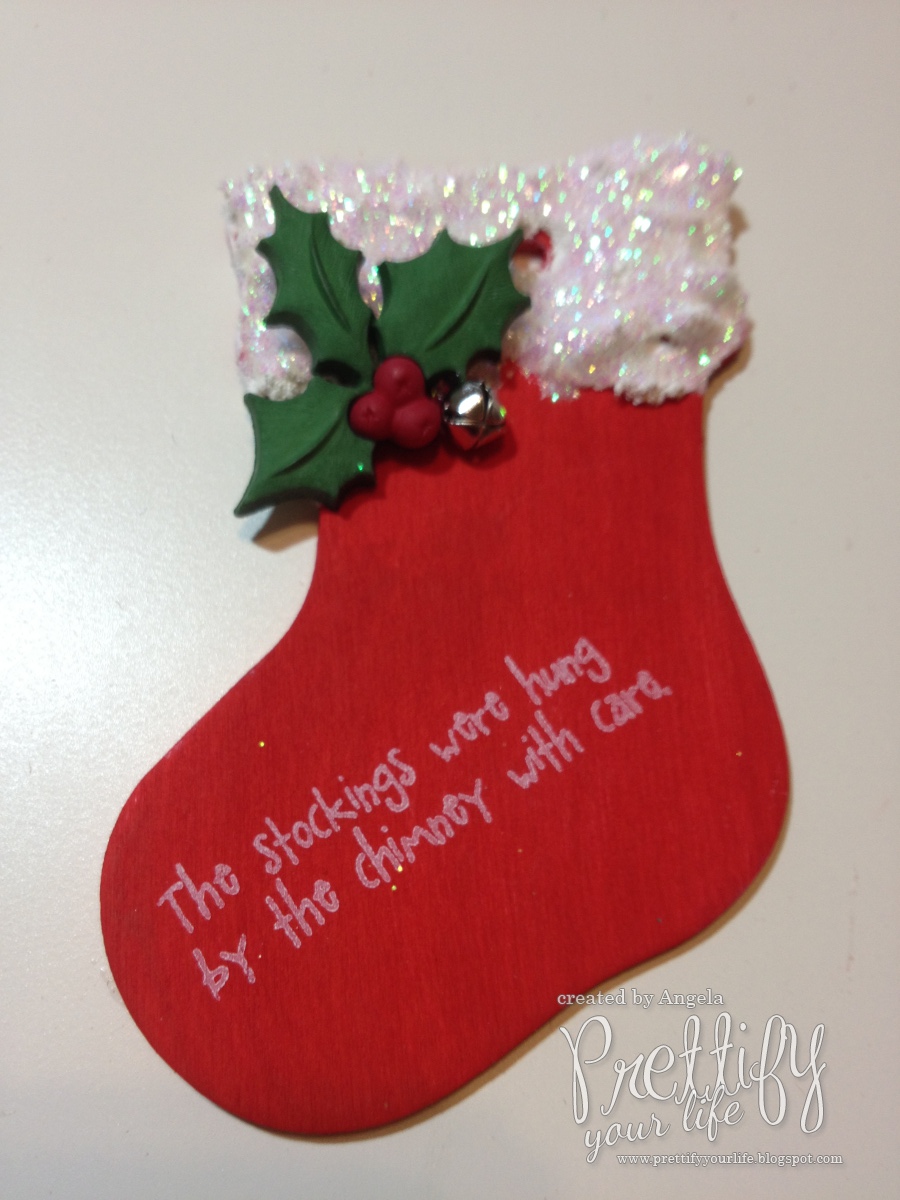
5. Using, Stampin' Up's Craft ink in Whisper White and a stamp from the Christmas Wishes Stamp Collection from Pink By Design, I stamped the Christmas phrase onto the stocking.

To order the Stampin' Up ink (as seen below), click here.

To order the Christmas Wishes Stamp Set by Pink by Design (as seen below), click here.

Here is a quick tutorial for those that have never used acrylic stamps:
6. Next, I applied Snow-Tex with a paint brush to the top of the stocking and let it dry overnight.


7. I then applied Stickles in the "Icicle" color over the top of the Snow-Tex for a shimmery look and let it dry for several hours.

You can purchase some Stickles colors at craft stores, but for a more complete color selection take a look at the Crafts To Favor website here.
8. For a finishing touch I hot glued a holly leaf and a tiny jingle bell to the stocking, both of which were purchased at Hobby Lobby.


And TA-DA! Here is the finished tag. You can stamp a "To" and "From" on the back to personalize, both of which are also sold in the Christmas Wishes stamp set. Your friends and family will LOVE the personal touch you put on their gifts this year!

No comments:
Post a Comment
Post your comment here!